Follow the procedure below to configure the cutting conditions on the basis of the type of media or the result of a cutting test.
-
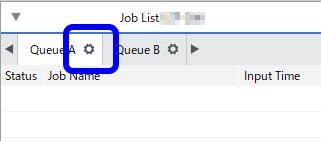
Click
 for the queue folder that you want to use.
The
Queue Properties window appears.
-
Click
 .
.
-
From the Operation Mode list, select Cut Only or Print & Cut.
-
Enter the Cut Passes.
Enter the number of cutting passes for each cutting line. Increase the value for media that is difficult to cut.
-
Select the Cutting Conditions Settings check box.
Configure the following settings if necessary:
- Cutting Speed
- Enter the cutting speed in cm/s.
- Cutting Force
- Enter the blade force in units of gram-force.
- Blade Offset
- Enter the blade offset value (the distance between the tip and the center of the blade) in millimeters. Enter the offset value for the blade being used.
-
Click OK.
Tip:
- To enable the changed settings, you have to set the printer to give priority to the VersaWorks settings prior to starting cutting. For information about settings on the printer, refer to the instruction manual of your printer.
- These settings can also be customized per job using the Job Settings window.