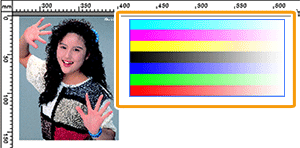
This section explains how to set the printing position while checking it in the layout area in the Job Settings window.
-
In the job list, double-click the job.
The Job Settings window appears.
-
Click
 .
.
-
Click
 .
.
-
Click the preview image in the layout area.
The preview image of the selected job is highlighted with a light blue border.

Tip: Select multiple jobs by clicking the preview images while holding down the Shift key or by dragging the mouse pointer over the preview images.
-
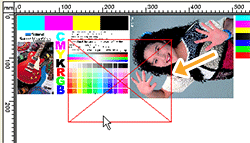
Drag the selected preview image to a new location in order to set its printing position.
Jobs cannot overlap each other. If you drag a preview image on top of the preview image of another job, a red box appears as shown in the figure.

In the layout area, you can use the layout editing tools to set the printing position.
-
Click OK.
You can check the job's printing position in the layout window of the top screen.