Step 1: Print a Job with Crop Marks
Follow the procedure below to print a job with crop marks used for position adjustment.
-
Click
 for the queue folder that you want to use.
The Queue Properties window appears.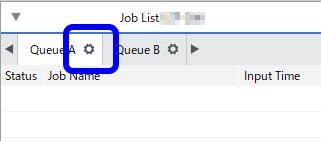
-
Click
 .
.
-
Click
 .
.
-
Click OK.
Tip: If a cutting line has been drawn around the border in an EPS file, the settings shown below are necessary. If you do not configure the settings shown below, a part of the border may not be cut.
-
In the Queue Properties window, click
 .
.
-
In the Queue Properties window, click
Tip: These settings can also be customized per job using the Job Settings window.
 Step 2: Cut the Processed Media