Step 1: Configure the Default Settings of Each Queue Folder

Follow the procedure below to configure the default settings of each queue folder in the Queue Properties window.

  1. Click for the queue folder that you want to use.

    The Queue Properties window appears.
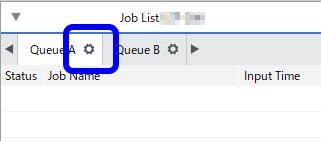
  2. Click .
  3. Click Get Media Width.
    The information about the width of the printable area is obtained from the printer and set here.
  4. Click .
  5. Select the type of the media to print on from the Media Type list.
  6. Use Print Quality to select the printing quality.
  7. Click OK.
    • The settings in this window are applied to all jobs that are added in each queue folder.
    • This section explains how to configure the minimum settings required for printing (the size and type of the media to use in printing and the printing quality). Configure other settings according to the application.
    • You can save the printing conditions you have set.
Step 2: Add Printing Data to the Job List