Correcting the Dimensions in the Printing Results
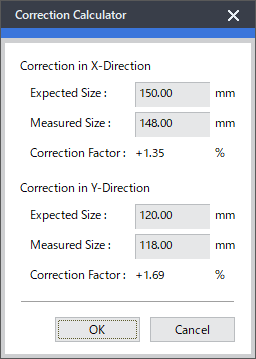
You can correct a shifted printing result by adjusting the horizontal and vertical sizes of the printing data. If you enter the measured sizes (the actual print size) and the expected sizes (the size to be printed), the correction factors can be automatically calculated and easily set. You can also enter the correction factors directly. Depending on the model you are using, this setting may be disabled.
-
Click
 for the queue folder that you want to use.
The Queue Properties window appears.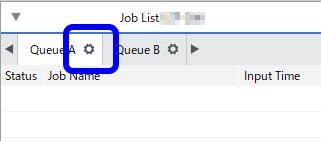
-
Click
 .
.
-
In Expected Size and Measured Size, enter the sizes in the horizontal and vertical directions.
Option Description Expected Size Enter the size to be printed. Measured Size Enter the measured size of the printing result. Correction Factor This is automatically calculated on the basis of the entered values. Tip:The correction factors can be set within a range of -5.00% to +5.00%.