This section explains how to save the tone curve adjustment settings and apply them to another job.
-
Adjust the tone curve according to the information given in "Adjusting the Tone Curve."
-
Click Save….
Enter a name, and then click Save…. The tone curve is saved.
-
Click OK.
The Tone Curves window closes.
-
Click OK.
-
If multiple printers are connected to the computer, select the printer that you want to apply the saved tone curve to.
-
Click
 for the queue folder that you want to use.
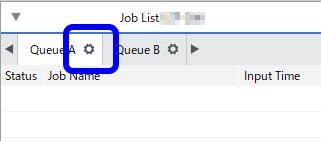
The
Queue Properties window appears.
-
Click
 .
.
-
Click Edit Tone Curves.
-
Click Load….
Load the Roland curve file saved in step 2.
-
Click OK.
The Tone Curves window closes.
-
Click OK.
-
Add the job to the job list.
The same settings of the tone curve adjusted in step 1 are applied to the job.