Adding Trim Marks or Margin Marks
This section explains how to add trim marks or margin marks around the image for printing.
-
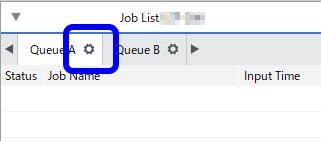
Click
 for the queue folder that you want to use.
The Queue Properties window appears.
-
Click
 .
.
-
Select the mark to be added from Type under Marks.
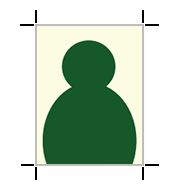
Option Description Trim Marks Prints trim marks added at the four corners of the job as shown in the diagram. 
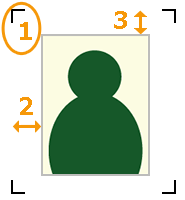
Margin Marks Leaves margins around the job and prints the margin marks at the four corners of the margin as shown in the diagram. 
-
1 Margin mark
-
2 Horizontal margin
-
3 Vertical margin
Set the horizontal margin with Horizontal and the vertical margin with Vertical for the job.
FOTOBA Cutline Marks Adds and prints specialized cutting marks when using Fotoba International S.R.L.'s finishing cutters.
To print lines in the vertical direction, select the Print vertical lines check box.
-
- Click OK.
-
Add the job to the job list, and then start printing.
The selected marks are printed around the image.Tip:
- You can also change these settings from the Job Settings window after adding a job to the job list.
- You can set Crop Marks (Print&&Cut Alignment) regardless of whether margin marks or trim marks are present. However, this cannot be set on printers that do not support the cutting function.