Correcting the Size of Special Color Plates
This section explains how to correct the size of an image printed using spot color ink. Depending on the printer, this function may not be displayed.
-
Click
 for the queue folder that you want to use.
The Queue Properties window appears.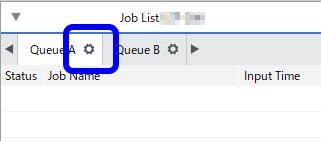
-
Click
 .
.
-
Click
 .
.
-
Click OK.
A test pattern is printed.
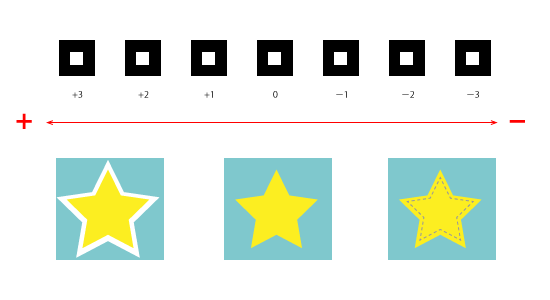
Size correction value and printing position
-
Enter the Size correction value.
Select the value on the printed test pattern that makes the misalignment between A (the black line) and B (the spot color line) the smallest. Enter the Size Correction value written on the test pattern.
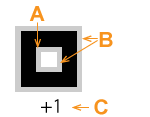
A Black line (reference line)
B Spot color line
C Correction value
Tip: The test pattern correction values differ for each piece of data. Set the correction values for each piece of data.