Step 1: Create Cutting Data
*The screenshots show an example of Illustrator CC, but the operation procedure is the same for other versions.
*You must install Plug-in for Illustrator before proceeding.
(1) Create Cutting Data
Procedure
- Perform preparations for cutting.
Click the link below and complete the procedures from Step 1: Load the Material to Step 6: Set the Origin.
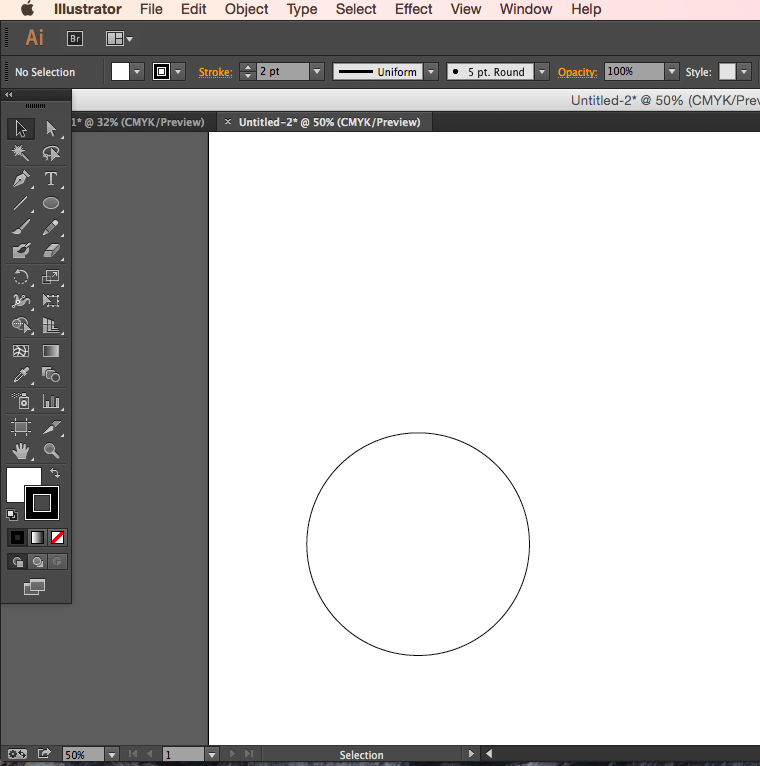
- Start Illustrator, open a new document, and set the artboard settings.
Set a document size that is the same size as the cutting width displayed on the machine.

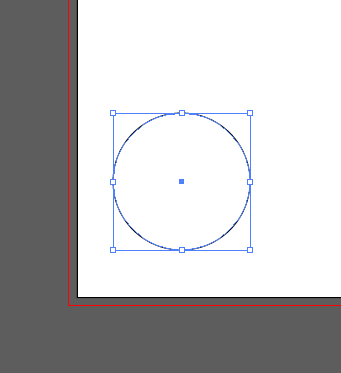
- Create a new file and create a new design, or open an existing file.
In this example, you will create the design shown in the window below.
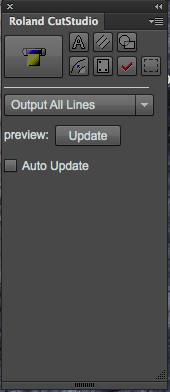
- From the Window menu, click Extensions, and then click CutStudioPlugIn.
The Roland CutStudio palette appears.
- Select the object that you want to apply perforated lines to.
- Click
 .
.
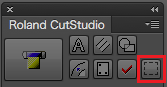
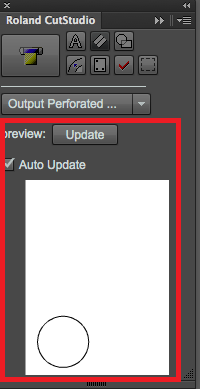
- Select Output Perforated Cut Lines.
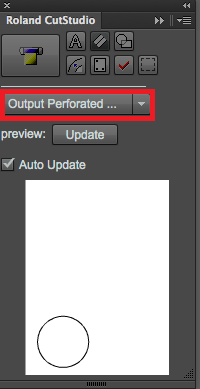
- On the Roland CutStudio palette, select the Auto Update check box.
Check that the cutting line that you wish to output is shown on the preview screen.