Step 5: Load the Printed Material
Procedure
- Check the origin point for cutting of the printed material.
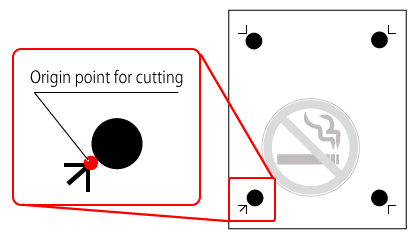
- Set the origin point for cutting at the bottom left of the material, and load the material in the machine.
If the material is loaded in the wrong direction, the machine cannot read the crop marks.
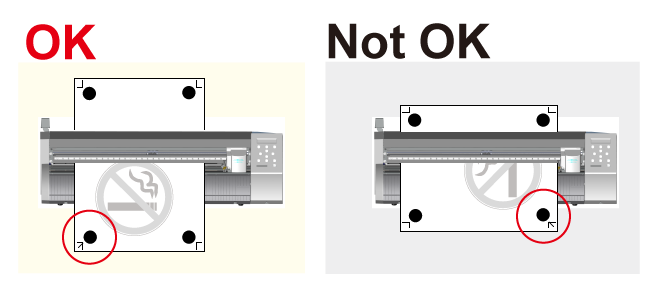
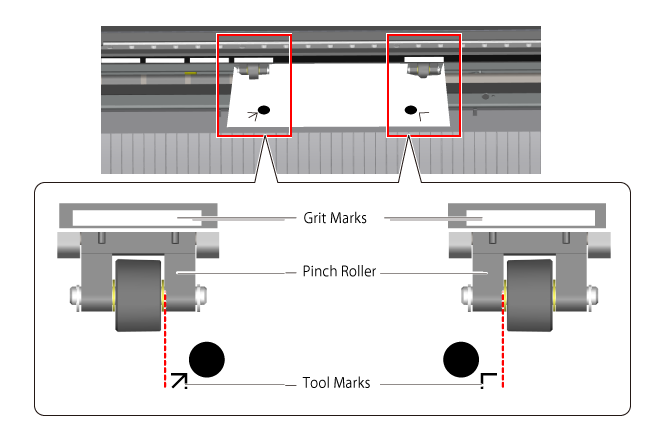
- Position the pinch rollers as shown in the figure.
(1) Position the pinch rollers outside the tool marks.
(2) Be sure that both edges of the material and the pinch rollers are inside the pinch-roller position-verification marks.
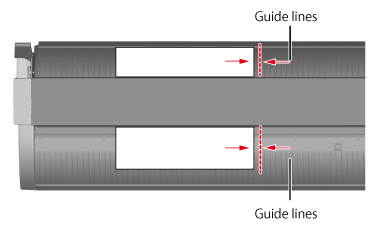
- Align the right edge of the material so that it lies approximately parallel to the guide lines.
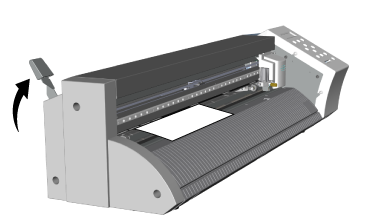
- Raise the loading lever to secure the material in place.
- Press
 to turn on the power.

- Select the type of material.
- Press
 .
.
The cuttable width and length are displayed.

- Move the material using

 , and position the crop marks above the blade protector.
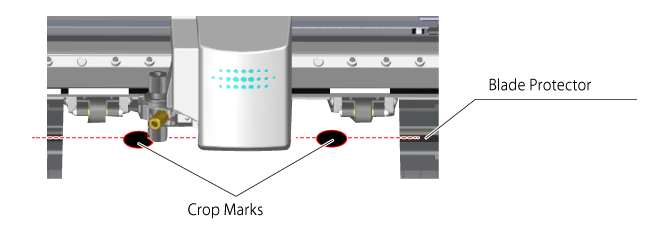
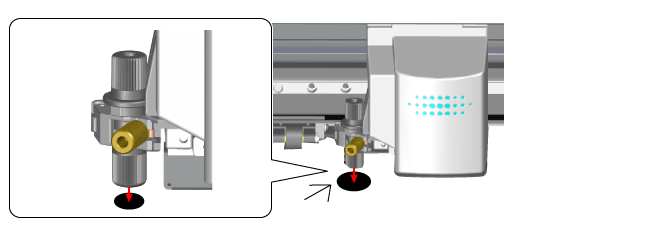
- Press

 to position the tip of the blade over the center of the bottom left crop mark.
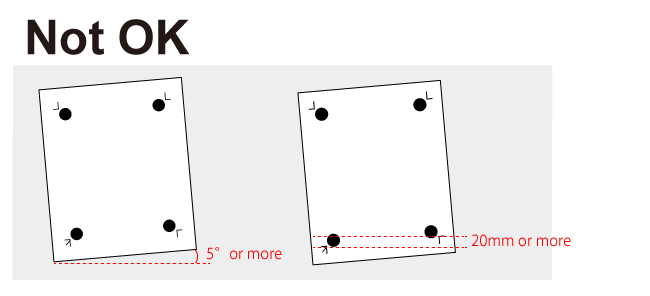
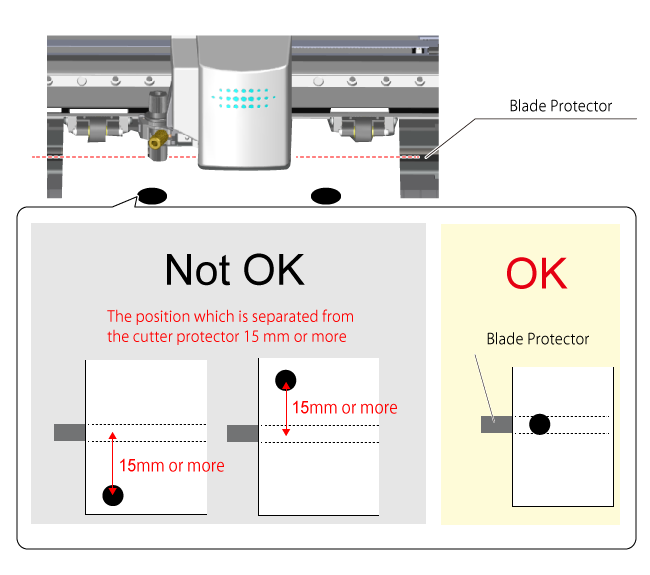
- Crop marks cannot be read in the situations indicated below.
If any of the following situations occur, remove the material and then reload it.
• The left and right crop marks are slanted by 5 degrees or more with respect to the moving direction of the cutting carriage.
• The crop marks are offset by 20 mm in the material-feed direction.
• The crop marks are separated from the blade protector by a distance of 15 mm or more.
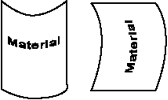
The material sometimes curls when it is printed on the printer.
Do not use material that is curled as shown in the figure. The crop marks may not be read. If this happens, straighten out the material before loading it on the GS-24.