Step 7: Perform Cutting (Sensor Mode)
Procedure
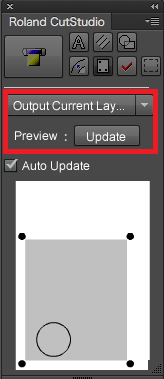
- Show the layer containing the cutting lines and select it.
Check that all the cutting lines that you wish to cut are shown on the preview screen.

- On the Roland CutStudio palette, select Output Current Layer, and then click Update.
Check that all the cutting lines that you wish to cut are shown on the preview screen.
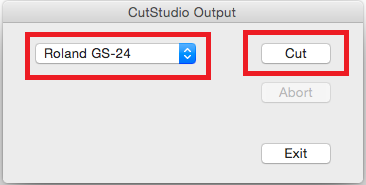
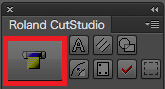
- Click
 .
.
- Select Roland GS-24, and click Cut.
If the name of the machine is not displayed, refer to "The Machine Doesn't Run."
The cutting data is sent to the machine. When the machine receives the data, it automatically reads the crop marks using a sensor, and then starts cutting.
If the sensor fails to read the crop marks
If the sensor fails to read the crop marks, the screen in the figure appears. If this screen appears, proceed to "Crop Marks Cannot be Read." If this does not resolve the issue, refer to "Cutting in Tool Mode (1) " and perform positioning in tool mode.

- When cutting finishes, click Exit to close the window.

- Remove the cut material.
Remove the material to complete the cutting procedure.