Cutting in Tool Mode (2)
Send Cutting Data and Perform Alignment
- Send cutting data.
- The screen shown in the figure appears.

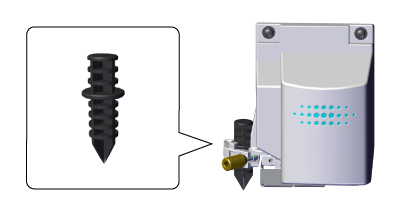
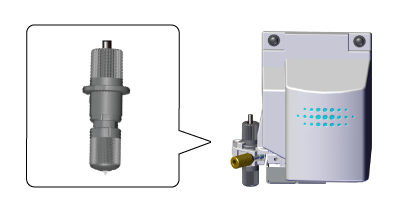
- Remove the blade holder and install the alignment tool.
- When installation is complete, press
 .
.
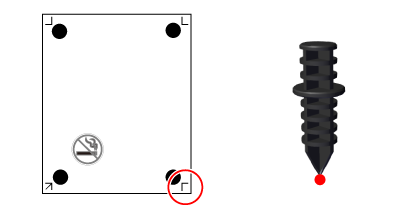
The tool moves to a position near the bottom left crop mark and stops, and the screen shown in the figure appears.
- Use the


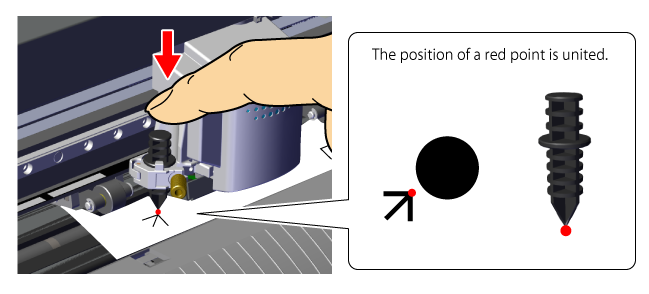
 buttons to align the tip of the alignment tool with tool mark 1.
Hold down the alignment tool gently from above, and check that the tip of the alignment tool overlaps with the tool mark.
- Press .
The tool moves to a position near the bottom right crop mark, and the screen shown in the figure appears.
- Align the tip of the alignment tool with tool mark 2.
- Press .
The tool moves to a position near the upper left crop mark, and the screen shown in the figure appears.

- Align the top left and top right tool marks in the same way.
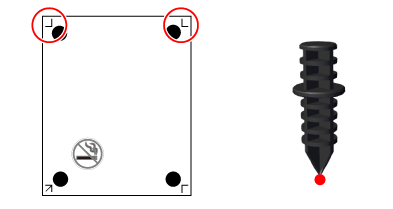
- After aligning mark 4, press .
The screen shown in the figure appears.

- Remove the alignment tool and install the blade holder.
- Press .

- Press .
Cutting starts.