Step 4: Create contour lines for images

Import an image and create contour lines (an outline).
Prepare an image file in BMP (bitmap), JPEG, or PNG format.
For more information about the requirements of images that are suitable for contouring (extracting the outline), refer to the [Object] - [Image Outline] command.

  1. Click Import.
    The [Import] dialog box appears.

  2. Specify the file, and then click [Open].
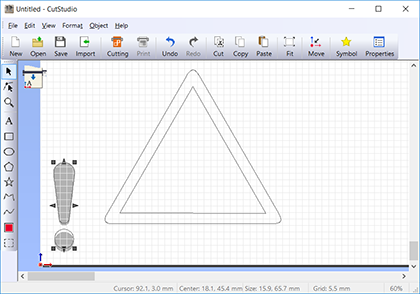
    A faint representation of the image you specified is displayed.
    In this example, open exclamation.bmp, which is found in the folder where CutStudio is installed (normally in the [CutStudio] folder inside the [Program Files] folder on drive C).
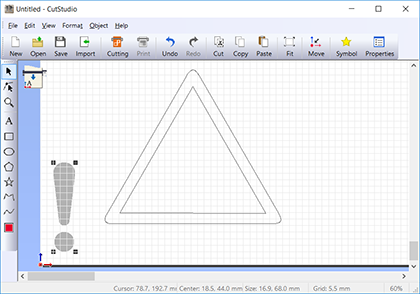
    Importing an image
    (* To make the displayed image darker, go to the [Preferences] dialog box and display the [General] tab.)

  3. With the image selected, go to the [Object] menu and click [Image Outline].
    The [Image Outline] dialog box appears.

  4. Click [Extract Contour Lines].
    The outline of the image is extracted and the contour lines are created.
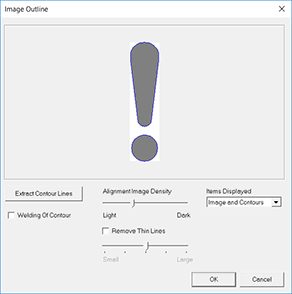
    Creating contour lines

  5. Click [OK].
    The created contour lines are added.
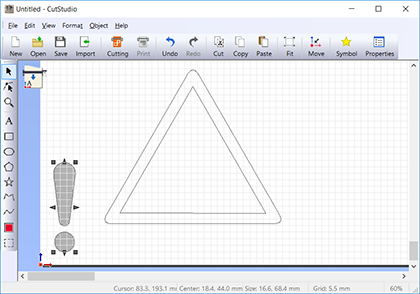
    Inserting contour lines

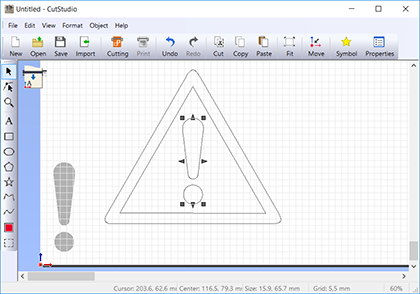
  6. Hold down the [Shift] key and drag a shape handle (■) to resize the contour lines to the size shown in the figure.
    Resizing the contour lines

  7. Drag the contour lines to place them at the location shown in the figure.
    Arranging the contour lines

  8. The image you used as the source is no longer needed, so delete it.
    Select the image, and then go to the [Edit] menu and click [Delete].
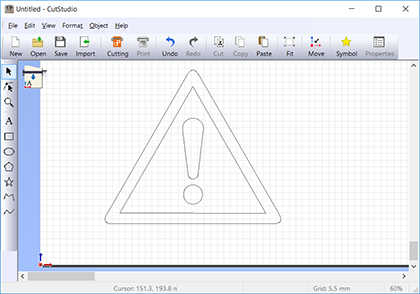
    Deleting the source image

 < Back 
 Next >