Create the objects to cut and decide on their sizes and locations.
This section explains the procedure for creating the design shown below.

- Click
 .
.
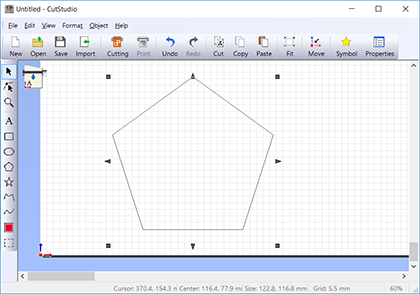
- Hold down the [Shift] key and drag the mouse.
A regular pentagon whose vertical/horizontal aspect ratio is 1:1 is drawn.
- With the regular pentagon selected, click
 .
.
The [Size and Shape] panel opens.
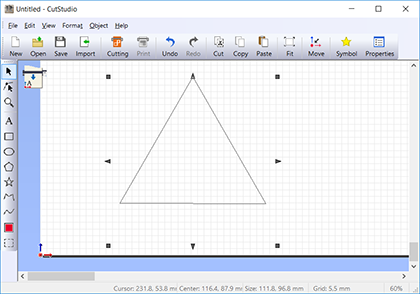
- Drag the [Object] slider to the left to create a triangle.

The regular pentagon changes into an equilateral triangle.
- With the triangle selected, click
 , and then click
  .
.
A single copy of the triangle is made.
- Click
 .
.
- Hold down the [Shift] key and drag a shape handle (
 ) to make the triangle a little larger than the original triangle.
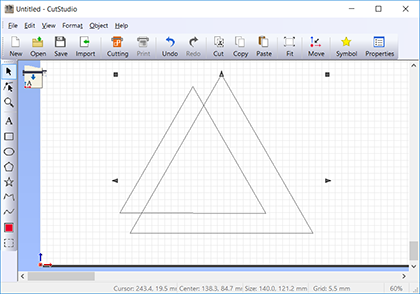
- Drag the triangle to place it at the location shown in the figure.
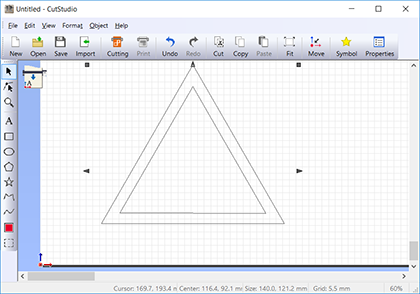
- With the large triangle selected, go to the [Object] menu and click [Convert to Polyline].
Now you can edit the vertices of the triangle.
- Click
 .
.
The triangle's vertices (anchor points) appear.
- Double-click a line to add an anchor point.
Add two anchor points at the locations shown in the figure.
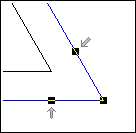
- Click a vertex to select it, go to the [Object] menu and click [Anchor Point], and then click [Make Curve Polyline].
A curve-polyline handle is added.
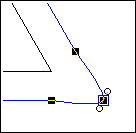
- Drag the anchor point, which you made into a curve polyline, to move it.
Drag the curve-polyline handle to make the corner round, as shown in the figure.
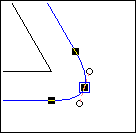
- Make the other two corners round in the same way.
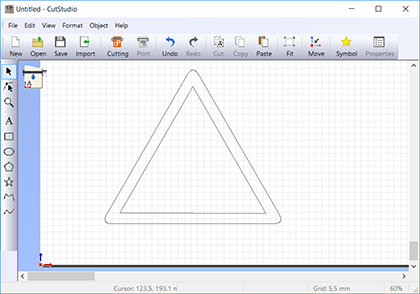
 .
.
 .
.

 , and then click
  .
. .
. ) to make the triangle a little larger than the original triangle.

 .
.


