Grundfunktionen
|
|

|
Moving Parts
|
Select the part and click the Move part button. Alternatively, press shortcut Ctrl+M or double-click part to start the mode. Holding the left mouse button down, move the part to the desired position.
Depending on the view, different modes are available.
|

|
Move in X/Y plane
|
View from above/below. Mouse pointer on the part.
|

|
Rotate
|
View from above/below/side. Mouse pointer next to the part.
|


|
Move along Z axis
|
View from the side. Mouse pointer over/under the part.
|
Shift
|
Press Shift key while moving the part.
|
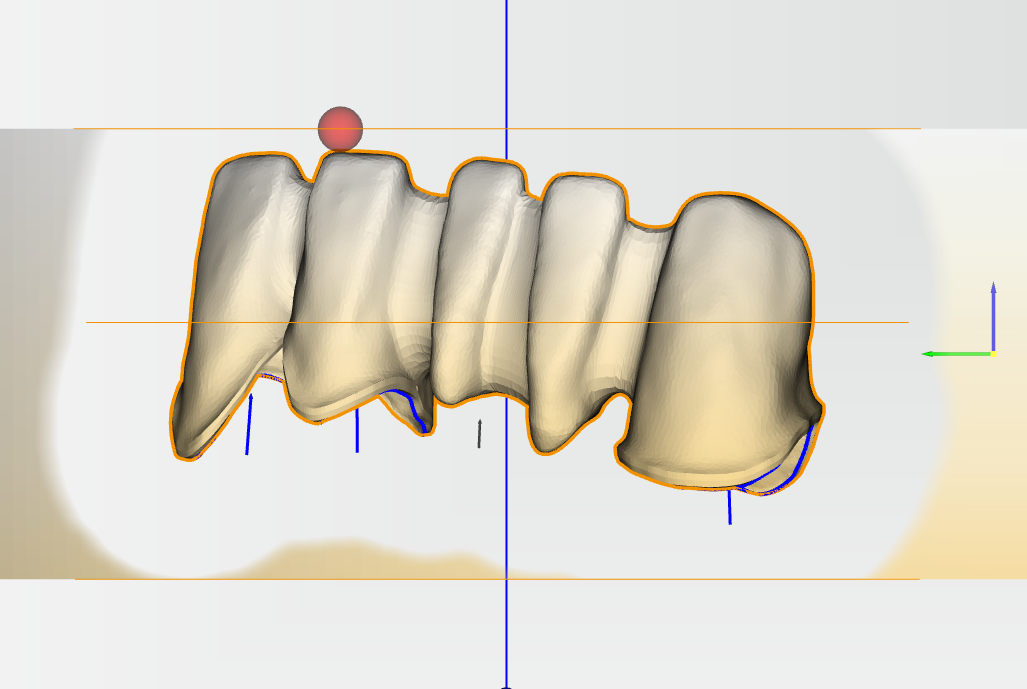
The blank is hidden around the part to optimize the color projection of the blank on the part.
|
|

|
|
|
|
|
Additional functions - Move in steps
|
|
|
|
|
|
|

|
|
|
|
|
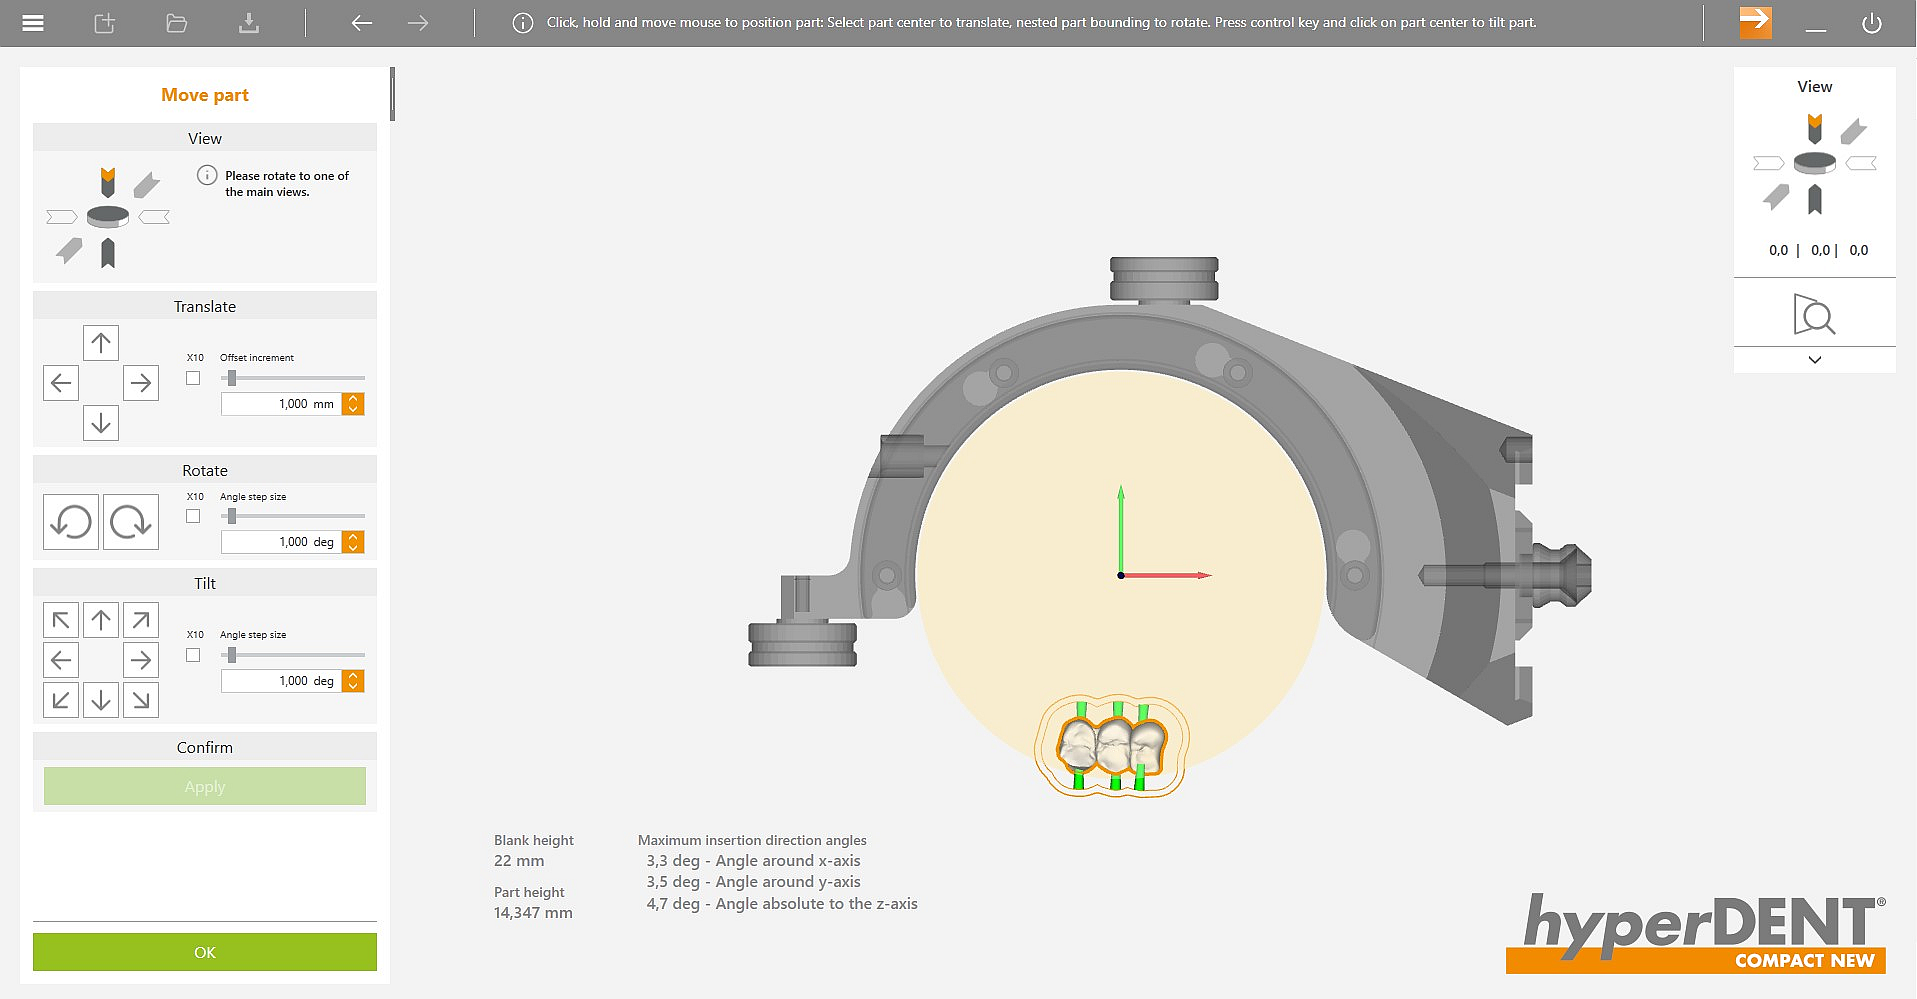
The part can be moved, rotated or tilted step by step. When the part is positioned, use the Apply button to confirm the move.
|
|
|

|
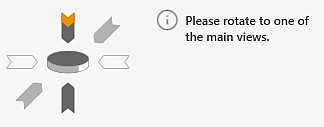
To be able to use the functions for precise moving, rotating or tilting, one of the main views must be selected and active.
|
|
|

|
With each click, the part is moved by the value entered in Offset increment.
|
|
|

|
With each click, the part is rotated or tilted by the value entered under Angle step size.
|
|
|

|
If a flag mark is set in X10, the offset step size is multiplied by 10.
|
|
|
|
|
|
|
|
|
![]() Moving Parts
Moving Parts


