- In the job list, double-click the job.
The [Job Settings] window appears.
- Click
 .
. - In [Level Adjustment], use the slider bars to adjust
the following:
[Cyan] / [Magenta] / [Yellow] / [Black]
Move the bar to the + (right) direction to darken and to the - (left) direction to lighten the color.
Set [Set individual level] to off to adjust [All Colors].
[Contrast]
Move the bar to the + (right) direction to increase and to the - (left) direction to decrease the contrast.
[Brightness]
Move the bar to the + (right) direction to increase and to the - (left) direction to decrease the brightness.
[Reset ALL]
Click this button to reset all level adjustment parameters to default values (0).
You can check the adjusted image in the layout area.
Tip- Adjusting the slider bars in [Level Adjustment] has the same effect as increasing or decreasing by 10 percent of the [OUT] value in the [Tone Curves] window (when [IN] is 50 percent) .
- Check the preview image, and then click [OK].
Tip
- You can also adjust these settings in the [Queue Properties] window. If you want to apply the same level adjustment to multiple jobs, configure it in the [Queue Properties] window.

 appears.
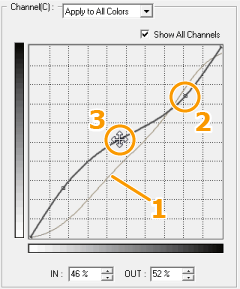
 or
or  .
.
