- Click the [Start] button in Windows, and then click [All Programs] (or [Programs]) - [Roland VersaWorks] - [Roland VersaWorks].
The [Printer Settings] window appears.
Tip
- The [Printer Settings] window only appears automatically when you start VersaWorks for the first time after installation or initialization.
To display the [Printer Settings] window in other cases, click [Printer] - [Printer Settings].
- The [Printer Settings] window only appears automatically when you start VersaWorks for the first time after installation or initialization.
- Configure the [Port] setting.
When using a network connection, select [TCP/IP], and then enter the printer's IP address.
When using a USB connection, select [USB], and then select the printer name from the list box. - Click [Verify].
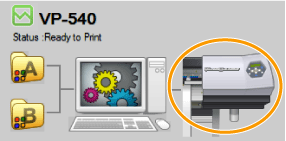
The Printer Status (Model Name, Firmware Version, Serial Number and Status) appears.
Tip
- Information also appears in the [Model Name] and [Ink Type] list boxes.
- Enter a nickname for the printer in the [Nick Name] box.
If you do not set a nickname, the model name is displayed. - Click [Apply].
- When the message [Do you want to install printer driver?] appears, click [Next].
When the [Add Printer Wizard]appears, click [Next].
- When the message [Do you want to install printer driver?] appears, click [Next].
- Click [OK].
The printer settings are saved, and then VersaWorks is started.

 .
.
 .
. . In this case, only the status and the remaining amount of ink are displayed.
